
前面我们了解到 OpenObserve 的架构支持单节点和 HA 两种模式,接下来我们来了解下 OpenObserve 的 HA 模式是如何使用的。
OpenObserve 可以在裸机服务器、虚拟机、Kubernetes 和其他平台上以 HA 模式安装和运行,但目前官方提供的使用 Helm Chart 的安装方式,所以需要提前准备一个可用的 Kubernetes 集群。
由于 HA 模式不支持本地磁盘存储,因此必须配置对象存储(例如 s3、minio、gcs 等等),这里我们就以 minio 为例进行说明。
首先添加 openobserve 的 helm 仓库:
复制
$ helm repo add openobserve https://charts.openobserve.ai
$ helm repo update
# 或者直接 clone chart 仓库
$ git clone https://github.com/openobserve/openobserve-helm-chart.git1.2.3.4.
然后可以使用下面的命令来获取 helm chat 包:
复制
$ tree openobserve-helm-chart
openobserve-helm-chart
├── Chart.lock
├── Chart.yaml
├── LICENSE
├── README.md
├── charts
│ ├── etcd-8.10.1.tgz
│ ├── etcd-8.11.4.tgz
│ └── minio-5.0.7.tgz
├── index.yaml
├── publish.sh
├── templates
│ ├── NOTES.txt
│ ├── _helpers.tpl
│ ├── alertmanager-deployment.yaml
│ ├── alertmanager-service.yaml
│ ├── compactor-deployment.yaml
│ ├── compactor-hpa.yaml
│ ├── compactor-service.yaml
│ ├── configmap.yaml
│ ├── ingester-hpa.yaml
│ ├── ingester-service.yaml
│ ├── ingester-statefulset.yaml
│ ├── ingress.yaml
│ ├── issuer.yaml
│ ├── querier-deployment.yaml
│ ├── querier-hpa.yaml
│ ├── querier-service.yaml
│ ├── router-deployment.yaml
│ ├── router-hpa.yaml
│ ├── router-service.yaml
│ ├── secret.yaml
│ ├── serviceaccount.yaml
│ ├── zplane-deployment.yaml
│ ├── zplane-ingress.yaml
│ └── zplane-service.yaml
└── values.yaml
2 directories, 34 files1.2.3.4.5.6.7.8.9.10.11.12.13.14.15.16.17.18.19.20.21.22.23.24.25.26.27.28.29.30.31.32.33.34.35.36.37.38.39.40.
整个包里面还包括 etcd 和 minio 两个依赖的 helm chart 包,创建一个 oo-values.yaml 文件,然后添加如下内容:
复制
auth:
ZO_ROOT_USER_EMAIL: "root@example.com"
ZO_ROOT_USER_PASSWORD: "root321"
# 启用了 minio 不用设置这个
# ZO_S3_ACCESS_KEY: "console"
# ZO_S3_SECRET_KEY: "console123"
config:
# ZO_S3_SERVER_URL: "http://minio:9000" # 启用了 minio 不用设置这个
ZO_S3_BUCKET_NAME: "openobserve"
ZO_S3_REGION_NAME: "us-east-1"
ZO_S3_PROVIDER: "minio" # 只有在使用 minio 进行对象存储时才需要设置这个,如果启用了minio,将会自动设置。
ZO_TELEMETRY: "false" # 发送匿名遥测信息以改进OpenObserve,您可以将其设置为false来禁用。
# ZO_ETCD_ADDR: "openobserve-etcd-headless.openobserve.svc.cluster.local:2379" # etcd endpoint,启用 etcd 会自动配置
ZO_DATA_DIR: "./data/" # 指定数据目录,主要是 WAL 日志
ZO_WAL_MEMORY_MODE_ENABLED: "false" # 开启内存模式,开启后不再写入本地文件,wal的数据直接在内存中,然后从内存转存到对象存储,为了解决某些云服务器,本地磁盘性能很差的问题,但是需要大内存。
ZO_WAL_LINE_MODE_ENABLED: "true" # wal的写入模式,一般写入数据的时候都会批量写入,但是这有个潜在的风险。比如你一次写入了10k数据,如果我一次性写入wal,有可能遇到系统崩溃,掉电,这一批数据不知道断在哪儿,wal文件会出错。可能写入了一半。如果开启line模式,就是虽然你是一次给了我10k数据,我写入wal的时候,一行行的调用write接口,这样wal损坏的可能性小一些,但是性能稍微差一些。
replicaCount: # 可以根据需要调整副本数
ingester: 1
querier: 1
router: 1
alertmanager: 1
compactor: 1
ingester:
persistence: # 持久化 data 目录,主要是 WAL 日志
enabled: true
size: 10Gi
storageClass: "cfsauto" # 指定可用的 storage class
accessModes:
- ReadWriteOnce
ingress:
enabled: true
className: "nginx"
annotations:
nginx.ingress.kubernetes.io/enable-cors: "true"
nginx.ingress.kubernetes.io/connection-proxy-header: keep-alive
nginx.ingress.kubernetes.io/proxy-connect-timeout: "600"
nginx.ingress.kubernetes.io/proxy-send-timeout: "600"
nginx.ingress.kubernetes.io/proxy-read-timeout: "600"
nginx.ingress.kubernetes.io/proxy-body-size: 32m
hosts:
- host: oo.k8s.local
paths:
- path: /
pathType: ImplementationSpecific
etcd:
enabled: true # 指定 etcd 是否启用
replicaCount: 1 # 奇数
persistence:
size: 20Gi
storageClass: "cfsauto" # 指定可用的 storage class
accessModes:
- ReadWriteOnce
minio:
enabled: true # 指定 minio 是否启用
region: "us-east-1"
rootUser: rootuser
rootPassword: rootpass123
drivesPerNode: 1
replicas: 2
mode: distributed # or standalone
buckets:
- name: openobserve
policy: none
purge: false
persistence:
enabled: true
size: 10Gi
storageClass: "cfsauto" # 指定可用的 storage class
accessModes:
- ReadWriteOnce
consoleIngress:
enabled: true
ingressClassName: "nginx"
annotations:
kubernetes.io/ingress.allow-http: "true"
nginx.ingress.kubernetes.io/secure-backends: "true"
nginx.ingress.kubernetes.io/whitelist-source-range: 0.0.0.0/0
path: /
hosts:
- minio.k8s.local1.2.3.4.5.6.7.8.9.10.11.12.13.14.15.16.17.18.19.20.21.22.23.24.25.26.27.28.29.30.31.32.33.34.35.36.37.38.39.40.41.42.43.44.45.46.47.48.49.50.51.52.53.54.55.56.57.58.59.60.61.62.63.64.65.66.67.68.69.70.71.72.73.74.75.76.77.78.79.80.81.82.83.84.85.86.87.
在这个文件中我们指定了管理员的邮箱和密码,还有对象存储的相关配置,然后指定了 etcd 和 minio 的相关配置,要注意 auth 和 config 部分的配置,如果启用了 minio,那么 ZO_S3_ACCESS_KEY、ZO_S3_SECRET_KEY、ZO_S3_SERVER_URL 这些配置都可以省略,因为这些配置项会自动设置,包括如果启用了 etcd,ZO_ETCD_ADDR 参数也会自动配置。
另外我们可以看到 ingester 组件我们配置了数据持久化,这主要是为了对 WAL 日志数据的持久化,关于 WAL 主要有两种模式:
ZO_WAL_MEMORY_MODE_ENABLED: 内存模式,开启后不再写入本地文件,wal 的数据直接在内存中,然后从内存转存到对象存储,为了解决某些云服务器,本地磁盘性能很差的问题,但是需要大内存。ZO_WAL_LINE_MODE_ENABLED: WAL 的写入模式,默认开启,一般写入数据的时候都会批量写入,但是这有个潜在的风险。比如你一次写入了 10k 数据,如果我一次性写入 wal,有可能遇到系统崩溃,掉电,这一批数据不知道断在哪儿,wal 文件会出错。可能写入了一半。如果开启 line 模式,就是虽然你是一次给了我 10k 数据,我写入 wal 的时候,一行行的调用 write 接口,这样 wal 损坏的可能性小一些,但是性能稍微差一些。
所以如果我们使用内存模式的话理论上可以不用持久化数据目录,但有一种情况会落盘,就是当内存中还有数据的时候程序接收到关闭指令,会把内存中的数据 dump 到磁盘,下次启动的时候再转移到对象存储中去。
更多配置可以参考官方文档关于环境变量的说明:https://openobserve.ai/docs/environment-variables/。
然后使用如下命令即可一件安装 OpenObserve:
复制
$ helm upgrade --install openobserve -f oo-values.yaml --namespace openobserve ./openobserve-helm-chart
Release "openobserve" does not exist. Installing it now.
NAME: openobserve
LAST DEPLOYED: Thu Aug 10 15:31:37 2023
NAMESPACE: openobserve
STATUS: deployed
REVISION: 1
TEST SUITE: None
NOTES:
1. Get the application URL by running these commands:
http://oo.k8s.local/1.2.3.4.5.6.7.8.9.10.11.
安装后我们可以查看一下 OpenObserve 的 Pod 状态:
复制
$ kubectl get pods -n openobserve
NAME READY STATUS RESTARTS AGE
openobserve-alertmanager-7957d8fb79-xzh8z 1/1 Running 4 (31m ago) 32m
openobserve-compactor-d679d4765-gpkgk 1/1 Running 4 (31m ago) 32m
openobserve-etcd-0 1/1 Running 0 32m
openobserve-ingester-0 1/1 Running 0 4m31s
openobserve-minio-0 1/1 Running 0 32m
openobserve-minio-1 1/1 Running 0 32m
openobserve-querier-56456d48c5-dth52 1/1 Running 4 (31m ago) 32m
openobserve-router-7bd4fcbc6c-nrmbs 1/1 Running 3 (32m ago) 32m
prometheus-756c8c78f5-gkwl8 1/1 Running 0 2d
$ kubectl get svc -n openobserve
NAME TYPE CLUSTER-IP EXTERNAL-IP PORT(S) AGE
openobserve-alertmanager ClusterIP 10.102.247.215 <none> 5080/TCP 71m
openobserve-compactor ClusterIP 10.96.24.228 <none> 5080/TCP 71m
openobserve-etcd ClusterIP 10.103.96.225 <none> 2379/TCP,2380/TCP 71m
openobserve-etcd-headless ClusterIP None <none> 2379/TCP,2380/TCP 71m
openobserve-ingester ClusterIP 10.108.17.186 <none> 5080/TCP 71m
openobserve-minio ClusterIP 10.108.196.221 <none> 9000/TCP 71m
openobserve-minio-console ClusterIP 10.103.65.90 <none> 9001/TCP 71m
openobserve-minio-svc ClusterIP None <none> 9000/TCP 71m
openobserve-querier ClusterIP 10.99.221.44 <none> 5080/TCP 71m
openobserve-router ClusterIP 10.101.230.112 <none> 5080/TCP 71m
$ kubectl get ingress -n openobserve
NAME CLASS HOSTS ADDRESS PORTS AGE
openobserve nginx oo.k8s.local 10.98.12.94 80 53m
openobserve-minio-console nginx minio.k8s.local 10.98.12.94 80 53m1.2.3.4.5.6.7.8.9.10.11.12.13.14.15.16.17.18.19.20.21.22.23.24.25.26.27.
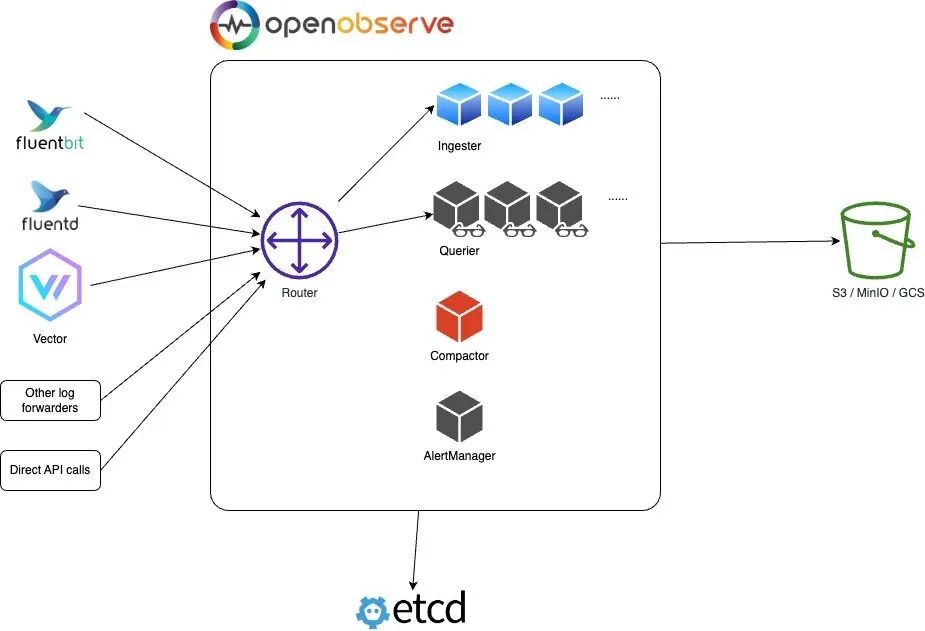
可以看到 OpenObserve 的几个组件 Router、Querier、Ingester、Alertmanager、Compactor、Minio、Etcd 都已经正常运行了,此外我们为 MinIO 和 OpenObserve 都添加了 Ingress,只需要将 oo.k8s.local 和 minio.k8s.local 映射到 Ingress 控制器即可访问。
比如现在我们可以通过 minio.k8s.local 来访问 MINIO 的 UI 界面:
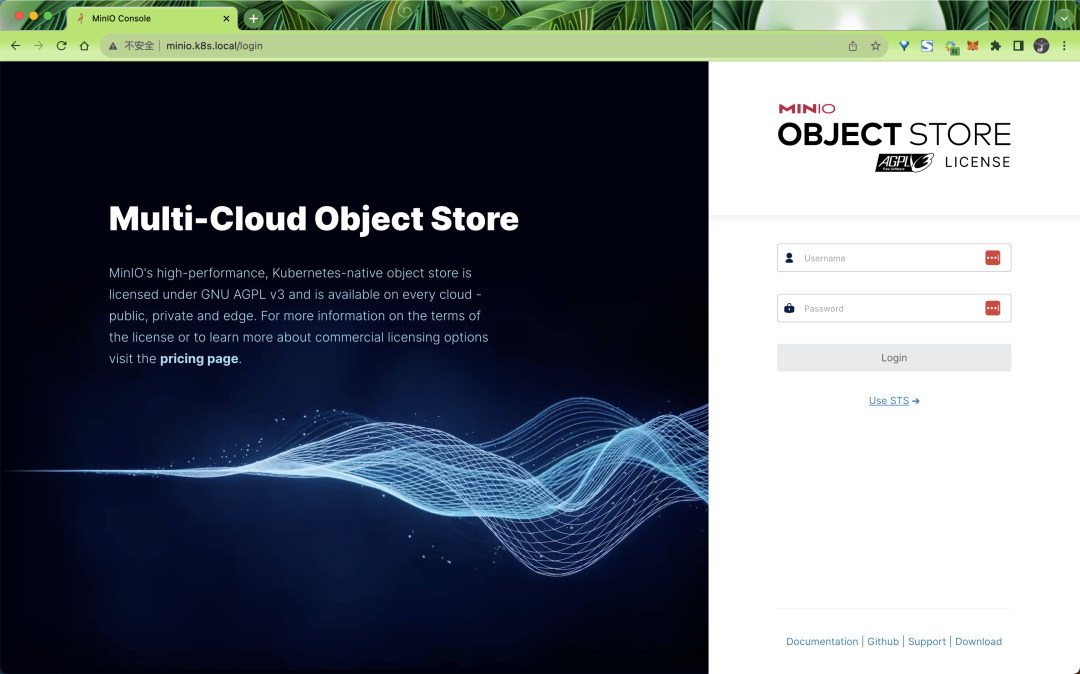
使用用户名 rootuser 和密码 rootpass123 即可登录成功。
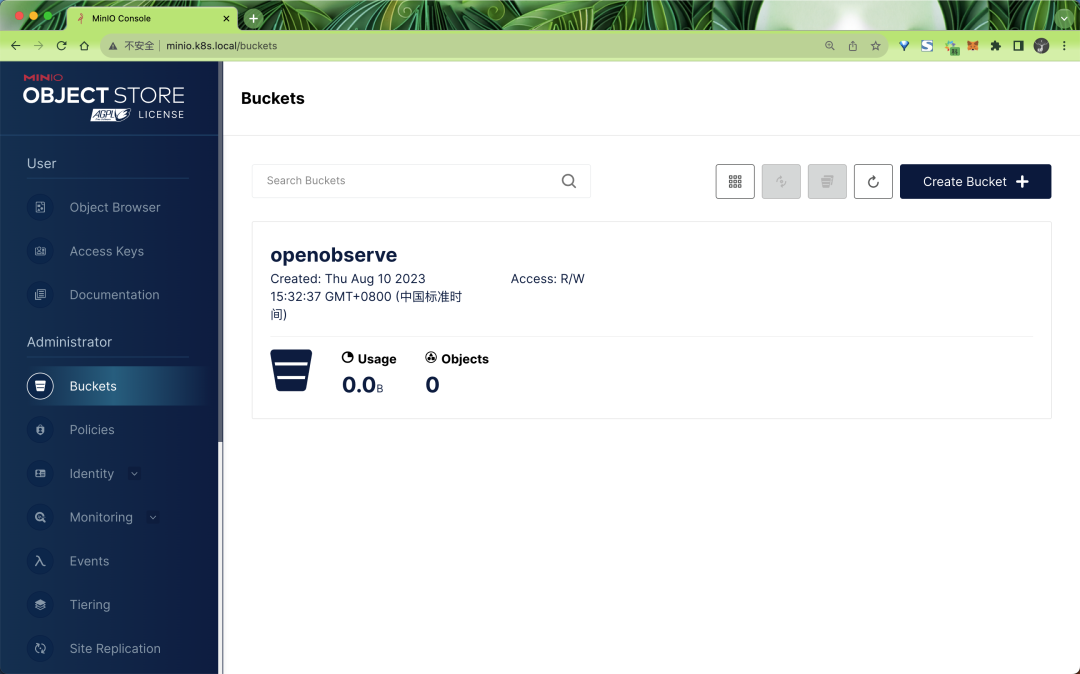
可以看到指定的 openobserve bucket 也已经创建成功了:
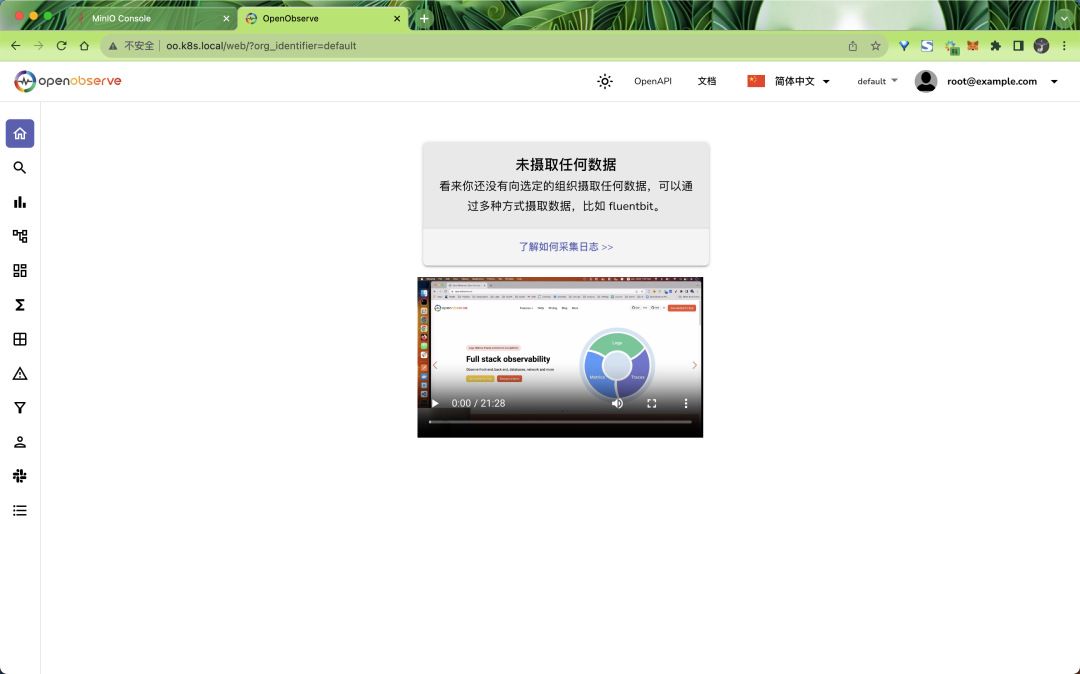
同样我们也可以通过 oo.k8s.local 来访问 OpenObserve 的 UI 界面:
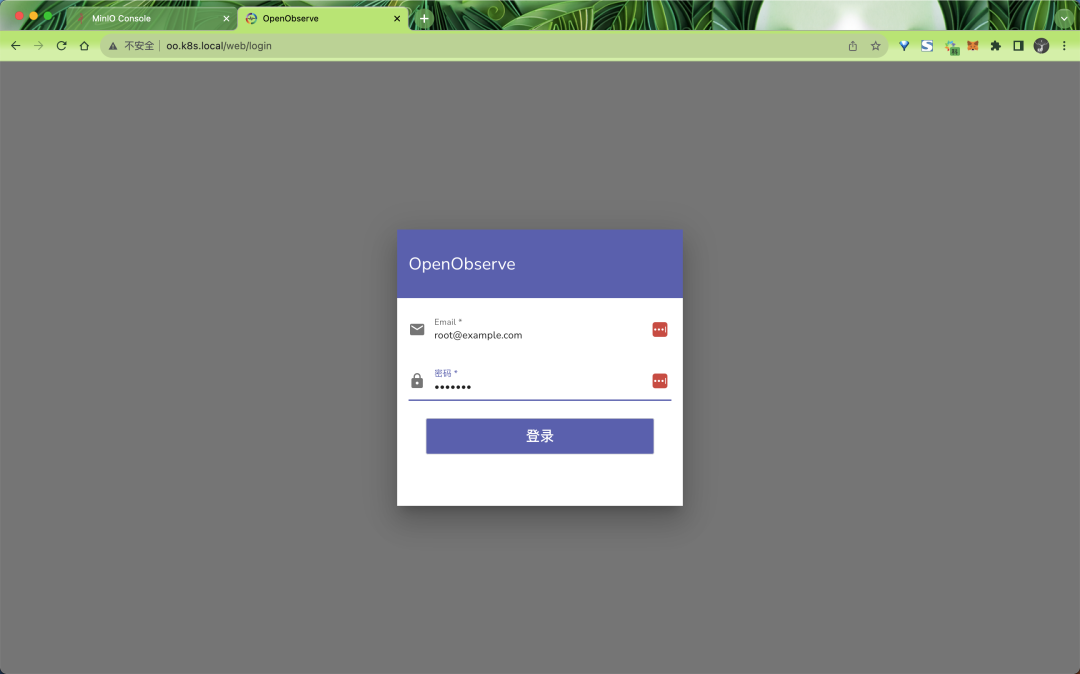
只是现在还没有任何数据:
接下来我们只需要将前面日志、指标、链路追踪的数据发送到新的 OpenObserve 地址 http://openobserve-router.openobserve.svc.cluster.local:5080 即可,比如前面我们已经部署的 Fluentd,只需要将日志输出地址修改即可:
复制
# fluentd.yaml
# ...... 省略部分配置
output.conf: |-
<match **>
@type http # 使用http插件
endpoint http://openobserve-router.openobserve:5080/api/default/K8sLogs/_json # 指定接收日志的地址
content_type json
json_array true
<auth>
method basic
username root@example.com
password root321
</auth>
<buffer>
flush_interval 2s # 每2秒发送一次
</buffer>
</match>1.2.3.4.5.6.7.8.9.10.11.12.13.14.15.16.17.
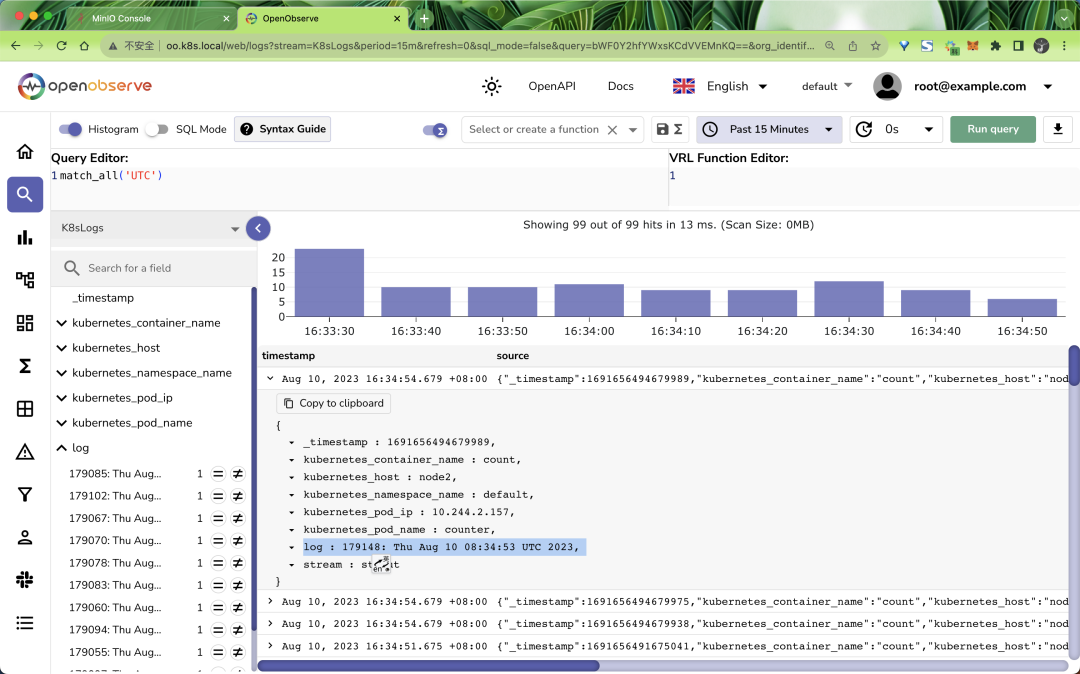
然后重启 fluentd 即可,隔一会儿就可以在 OpenObserve 的 UI 界面中看到日志数据了:
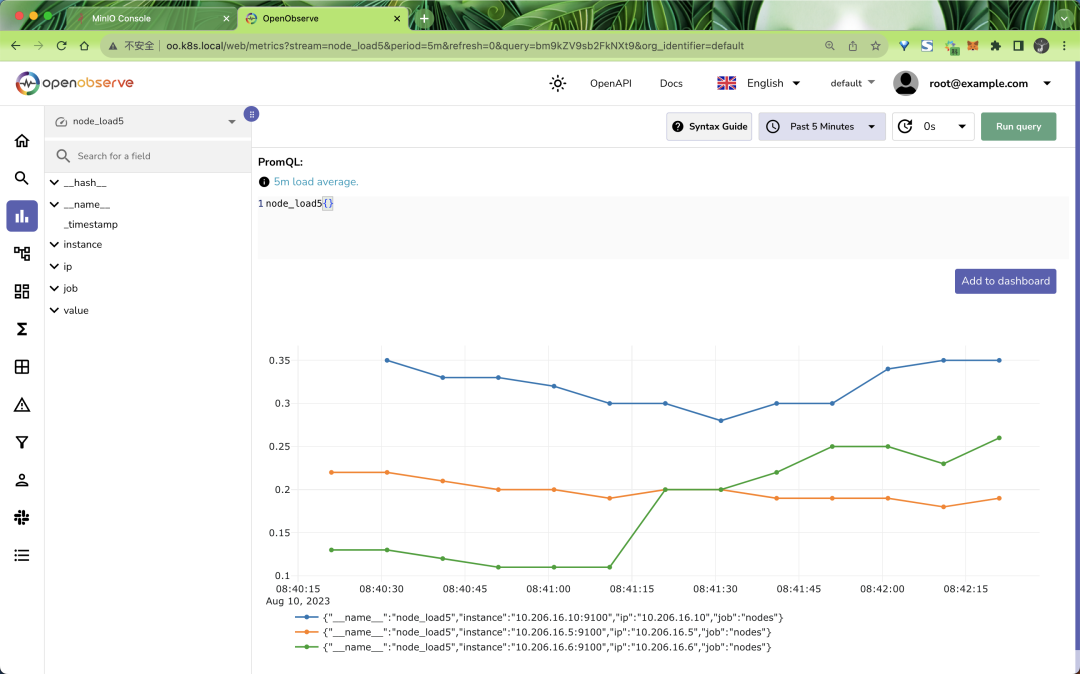
同样对于 Prometheus 也是一样的,只需要修改 Prometheus 的配置文件中的远程写入地址即可:
复制
remote_write: # 写入到远程 OO,url 是远程写入接口地址
- url: http://openobserve-router.openobserve:5080/api/default/prometheus/api/v1/write
basic_auth:
username: root@example.com
password: root3211.2.3.4.5.
对于链路追踪数据也是一样的,只需要修改 OpenTelemetry Collector 的配置文件中的远程写入地址即可。
最后我们可以去 MINIO 中验证下数据是否已经写入到对象存储中了:
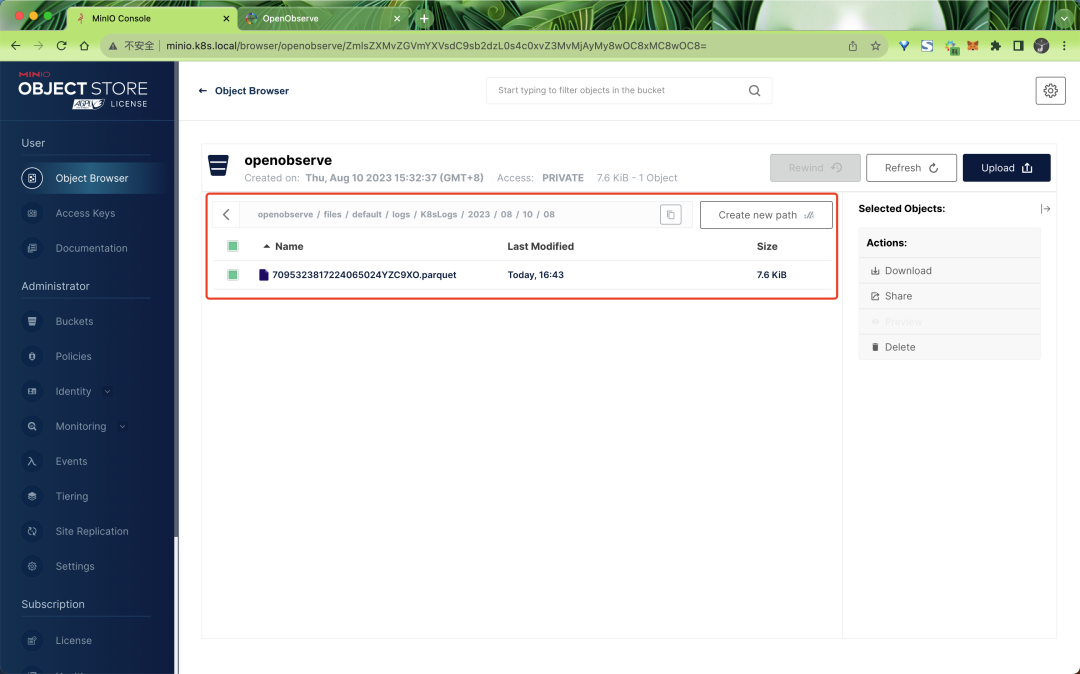
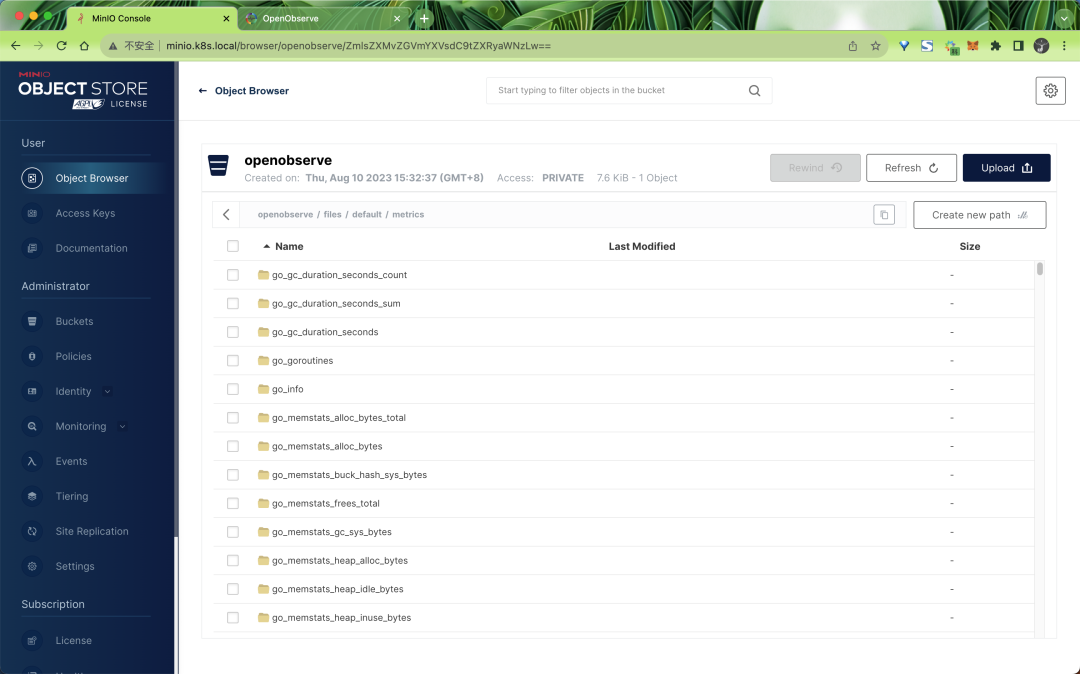
不过需要注意的是数据并不是实时上传到对象存储中的,默认 10 分钟或者 WAL 达到 32MB 后会上传一次。
到这里 OpenObserve 的 HA 模式就部署完成了,我们可以根据需要设置各个组件的副本数量进行横向扩展,也可以启用 HPA 来自动扩缩容。
其他更多功能请参考官方文档 https://openobserve.ai/docs/ 以了解更多相关信息。